
Calista's Craft Corner is DONE!
I cannot believe I have transformed this little area in only 4 days. I'm soooo mad at myself for not taking a BEFORE picture. But you can just imagine it in your head....computer monitor, keyboard, mouse/mouse pad, speakers, stacks of paper, blank/recordable CD's, and an old school 1985-style hideous lamp.
Booorrrringgggg. It needed a little T.L.C.
Prepare for picture overload...excuse the crappy iPhone pic quality...cam is still on the fritz. I'm so much more inspired now with my bright 'n cheerful craft space & cannot WAIT to create more fabulous "Custom from Calista" orders here in this little corner!! Bring it!

So first is my repurposed "CRAFT" sign...recycled from an old "martini" sign I had laying around. I bought the white wooden letters from Michael's at $2.99 each, but used a 25% off entire purchase coupon, score!

I made a few of the famed items...obviously the burlap "Calista's Corner" sign that I'd previously made.
 |
| yucky colored desk...one day I will paint it! |
I bought some embroidery thread and simply wrapped it around cardstock paper shaped like bobbins, then glued them onto the paper behind it (no glass in front so they pop out with a 3-dimensional look). Love all those bright colors.

Then I printed out a vintagy French lace bobbin picture and typed in "être inspiré " in the lower left corner, which means "Be Inspired". I also found a cute vintage dress form pic online & just printed it out. Then I saw this inspiring quote by Julia Child on Pinterest & thought it'd be perfect for my corner.

I also found this on Pinterest and re-created it in Picnik to my liking.

 |
| I had the ribbon holder before, previously installed on a wall in my dining room... |
But then I found a discounted $5 paper towel roll at Ross & voila! Instant ribbon holder for those with smaller holes that won't fit on the actual 2-tiered ribbon holder on the wall (& I still have a whole other box of ribbon spools too...oye). Also at Ross I found the wire dress form (lower right corner of pic) for $7 that I just could NOT walk away from...it was screaming my name - I knew she'd be right at home on my craft corner desk. I think she'll come in handy for taking pics of future new flower clips, necklaces (like below), or even bibs!

Next to that is a flower vase, made from an old syrup bottle (the Grade B stuff from Trader Joes - which I commonly use while doing the Master Cleanse). I just cleaned it out really well, scrubbed off the outside labels, spray on a couple coast of white paint, then when it was dry I wrapped some grey-ish yarn around it (glue gun not even needed!)...then stuck some fake pink hydrangeas (from K's 2nd bday party) inside. Perfect floral touch to my desk...me happy!

The hanging shelf in the top left corner of pic is actually a $12 shower head rack, haha...perfect! The little jars on the 4 boxed-shelf are $1 from Michael's (also bought along with the wooden letters with coupon) - perfect for all my buttons!

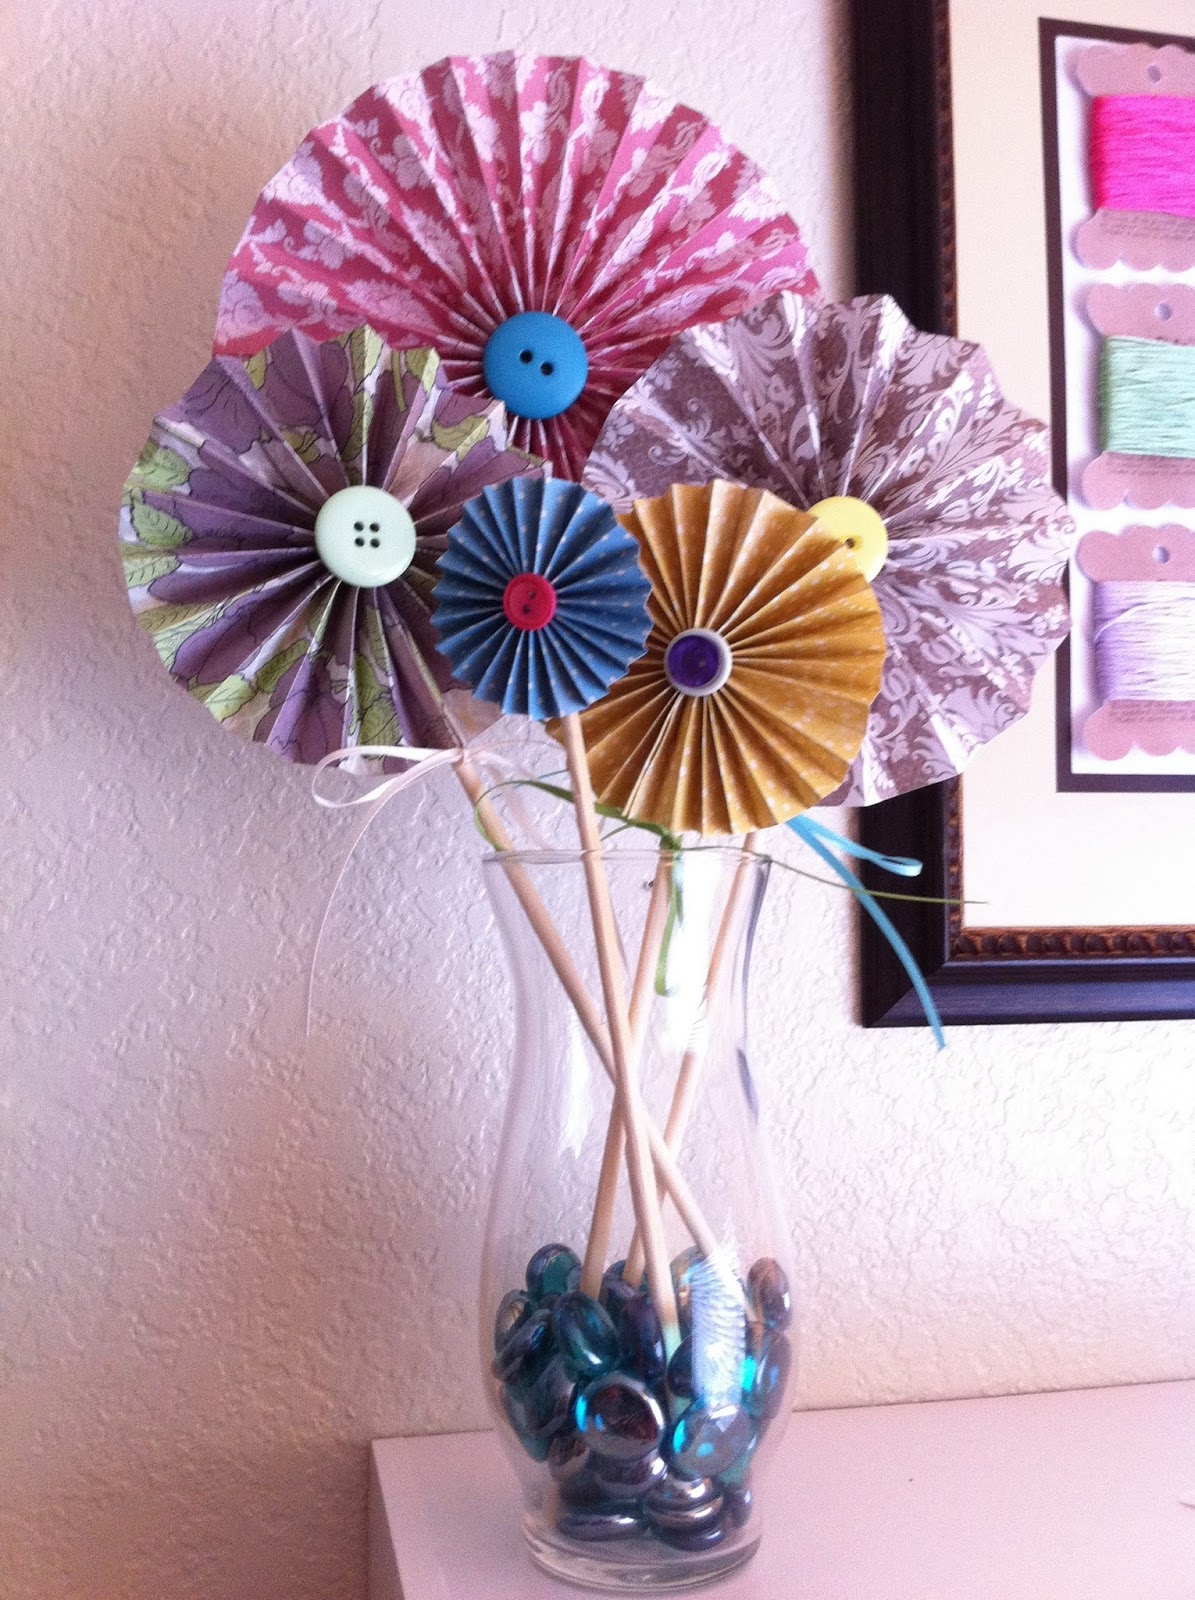
The flowers on top of that shelf are paper flowers with buttons in the middle that I made...and I love them dearly - they were so simple to make and I love all the bright, contrasting colors all together in a little vase with glass 'pebbles' on the bottom.
I found the magnetic knife strip online for $15, because I knew I needed to keep all my scissors up high, out of reach of Kapri's curious little hands...so they're up high in the corner, even somewhat difficult for shorty me to even reach! Another fav online find is the thread spool rack, with a little wire shaped sewing machine on the stop. I thought I had less thread than this....sooo, I may need to find another way to hang more in the future.

And last but definitely not least...my fav items would be these 3 dress form mannequin pin cushions!!! I am so in love with these...not only were they relatively easy & quick to make...but they are adorable AND practical! Because they're filled with poly-foam stuffing, they make the perfect holder for pins! It's just genius. I stumbled upon this "DIY Dish" how-to video late one night, when I should've been sleeping...but I just couldn't get over these & knew I had to make them. My only annoyance is that the glass candlestick did NOT adhere to the fabric bottom of the dress form...it literally came off the next day. So I had to reattach them with E6000 glue. Problem solved ;-)


Your room looks awesome!! I am super impressed. I love all the fun accessories and wall decor. Thanks for linking up!!
ReplyDeletethanks Cami!! it took awhile to piece it all together, but well worth it!!
DeleteHey, I featured your room on my site today! http://youseriouslymadethat.blogspot.com/2012/01/you-made-it-link-party-2.html Check it out :)
ReplyDeleteCami
Cute thanks for letting me know about your pretty little mannequins at Bacon Time.
ReplyDeleteof course ;-)
DeleteOh I just LOVE all of your little touches. The printables and small artwork are charming. I would love if you would link this up at Grits & Giggles "I Made This" party! http://gritsandgiggles.blogspot.com/2012/05/i-made-this-3.html
ReplyDeleteThanks Jenilyn - I definitely put a lot of T.L.C. into that space! I'll link up to it now :-)
DeleteYour "Creating Room" looks fantastic and that you put it together in such short time.
ReplyDeleteWhere were you when I need you...lol~
I've been working on mine since January. I moved it completely 3 times in my house, changed the colourway each time and the theme. Yes, it needed a theme. Just when I thought I had about a few hours work to go...I decided room #3 just didn't reflect me. So I started over again...when will the sanity end.
I love your pincushions...have all the supplies ready to make one, if and when I get my room done.
Great job.
Thanks Sande!! One day I hope to have a full ROOM, rather than a bitty little corner, haha! And the pincushions are just too cute...great gift ideas for any sewers/crafters that you may know ;-)
DeleteWhere can I find hot pink hydrangeas like that!?!
ReplyDeleteHi Kendra...I believe I found mine at a local Walmart in a clearance bin... but I'm sure Michael's (or any kind of craft store with a floral area) will have them... for the hot pink, I'm sure they'd be more available towards the spring season ;-)
DeleteThis comment has been removed by a blog administrator.
ReplyDelete